Setting up the editor🔗
In theory, you can edit quests with any editor. However, using the feature-packed but lightweight Visual Studio Code is highly recommended! We even made our own Visual Studio Code BetonQuest addon that enables some neat productivity advantages over any other editor.
Installation🔗
-
Head over to Visual Studio Code's site to install the latest version.
-
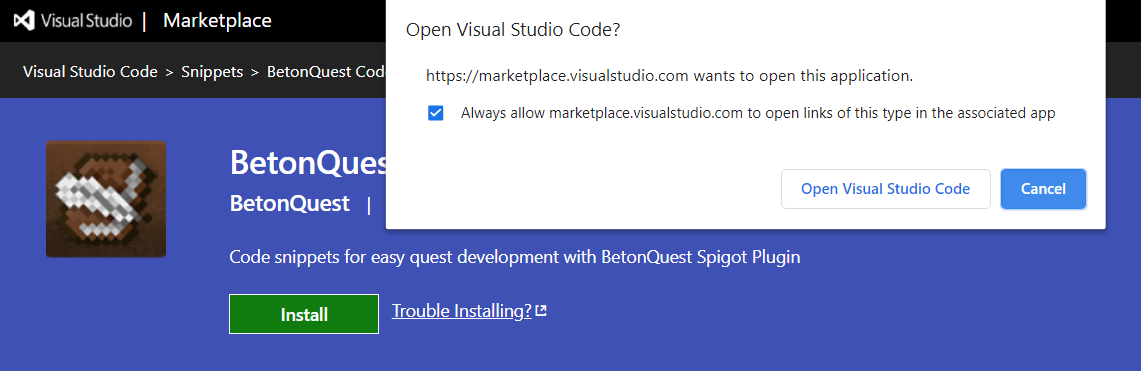
Then install the BetonQuest extension from the Visual Studio Marketplace. Just click the big green "Install" button and allow the site to open Visual Studio Code.
- Just click "Install" again after Visual Studio Code has opened.
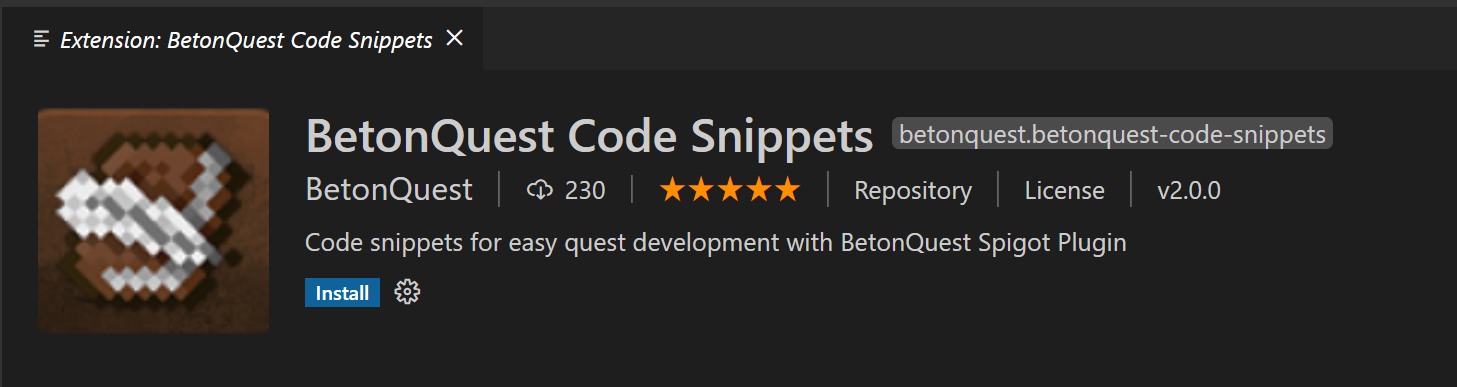
If this does not work for some reason go to the extensions view in VSCode (Ctrl+Shift+X) and search for BetonQuest.
A full guide on extensions can be found here.
Usage🔗
Setup🔗
Open up any of your quests using File > Open Folder... (if you haven't made any yet, select the default quest in plugin/BetonQuest/default). Then click on any file to open it. There are a few general things to keep in mind when editing files. VSCode does a really nice job at exposing these directly to the user. They are all listed in the bottom right corner of the editor window:
Caution
Make sure to set these settings in the bottom right corner of VSCode:
Spaces:2 Indent using Spaces.
UTF-8 file encoding.
LF end of line characters.
YAML language module.
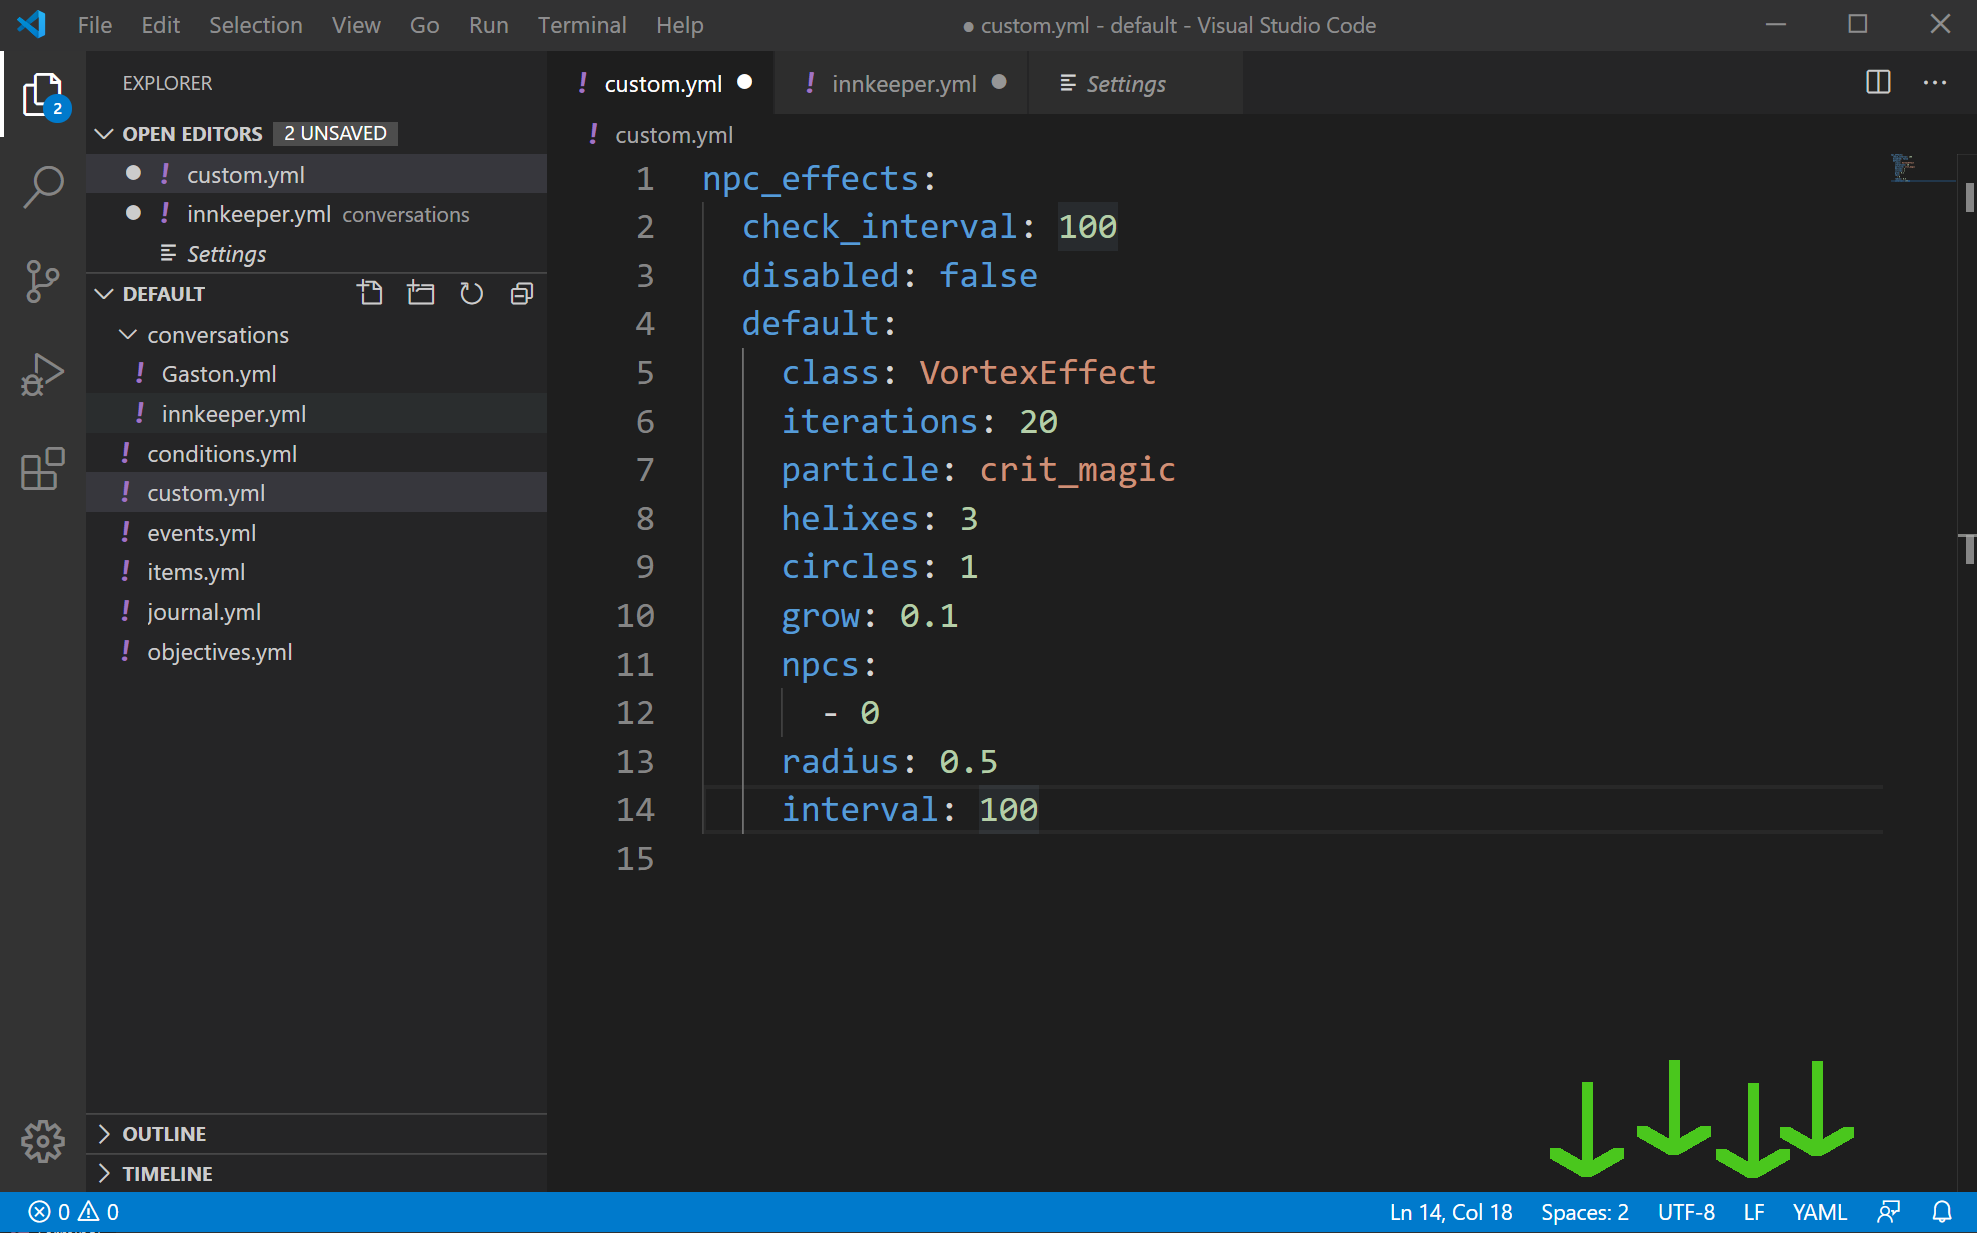
These ensure that the extension is activated. Additionally, your configuration works with all unique language characters (a german example: ä, ü, ö) and the file can be read on any server running on Linux.
Snippets🔗
The main feature of our extension are so called "code snippets". These are basically pre-defined events, conditions etc. that can be filled with any of your custom options.
Start typing the name of an event/condition/objective and press Ctrl + Space. VSCode will list possible completions. These include both snippets and yaml entries that are already defined in your file. Snippets will have the official documentation as description. VSCode will enter snippet mode once you press Enter while having a snippet selected. Navigating between options works by pressing Tab. If you want to go backwards you can invert the movement of the cursor by pressing Shift and Tab.
An option will be fully highlighted if it needs to be replaced with material names, messages... They will not show a drop-down menu.
If an option does, you need to choose between the offered options. Optional options are displayed as an empty field in the drop down.
These optional options can also contain a colon (:). You have to specify something behind them depending on the context
if they do. An example might be provided after the colon (:). Just replace it with the value you want.
Neat features:
- You will automatically jump to the next line if you press tab one last time after any option.
- The snippet automatically surrounds the event/condition... with
"". - There are not only snippets for
events,objectivesandconditionsbut also for conversations! - Pressing Alt + B creates a new conversationOption.
Take a look at this short video or play around with it yourself until you understand how it works:
Note: This video is slightly outdated and does not show some newer features!
Next step: YAML-for-questers