Setting up a local test server🔗
Why do I need a local server?!🔗
You might think that a local test server is useless because you already have a remote server. There are multiple reasons why you really need one:
- Working on a live server could lead to crashes and bugs that your players will have to deal with.
- Making quests can, especially for new questers, lead to unexpected behavior. This can be anything from spawning hundreds of mobs to endlessly giving out items to a player. Exactly the stuff you don't want to happen.
- Working with a test server is usually faster and therefore more productive. You can restart it all the time, change plugin configurations as you wish etc.
Setup of your local server🔗
-
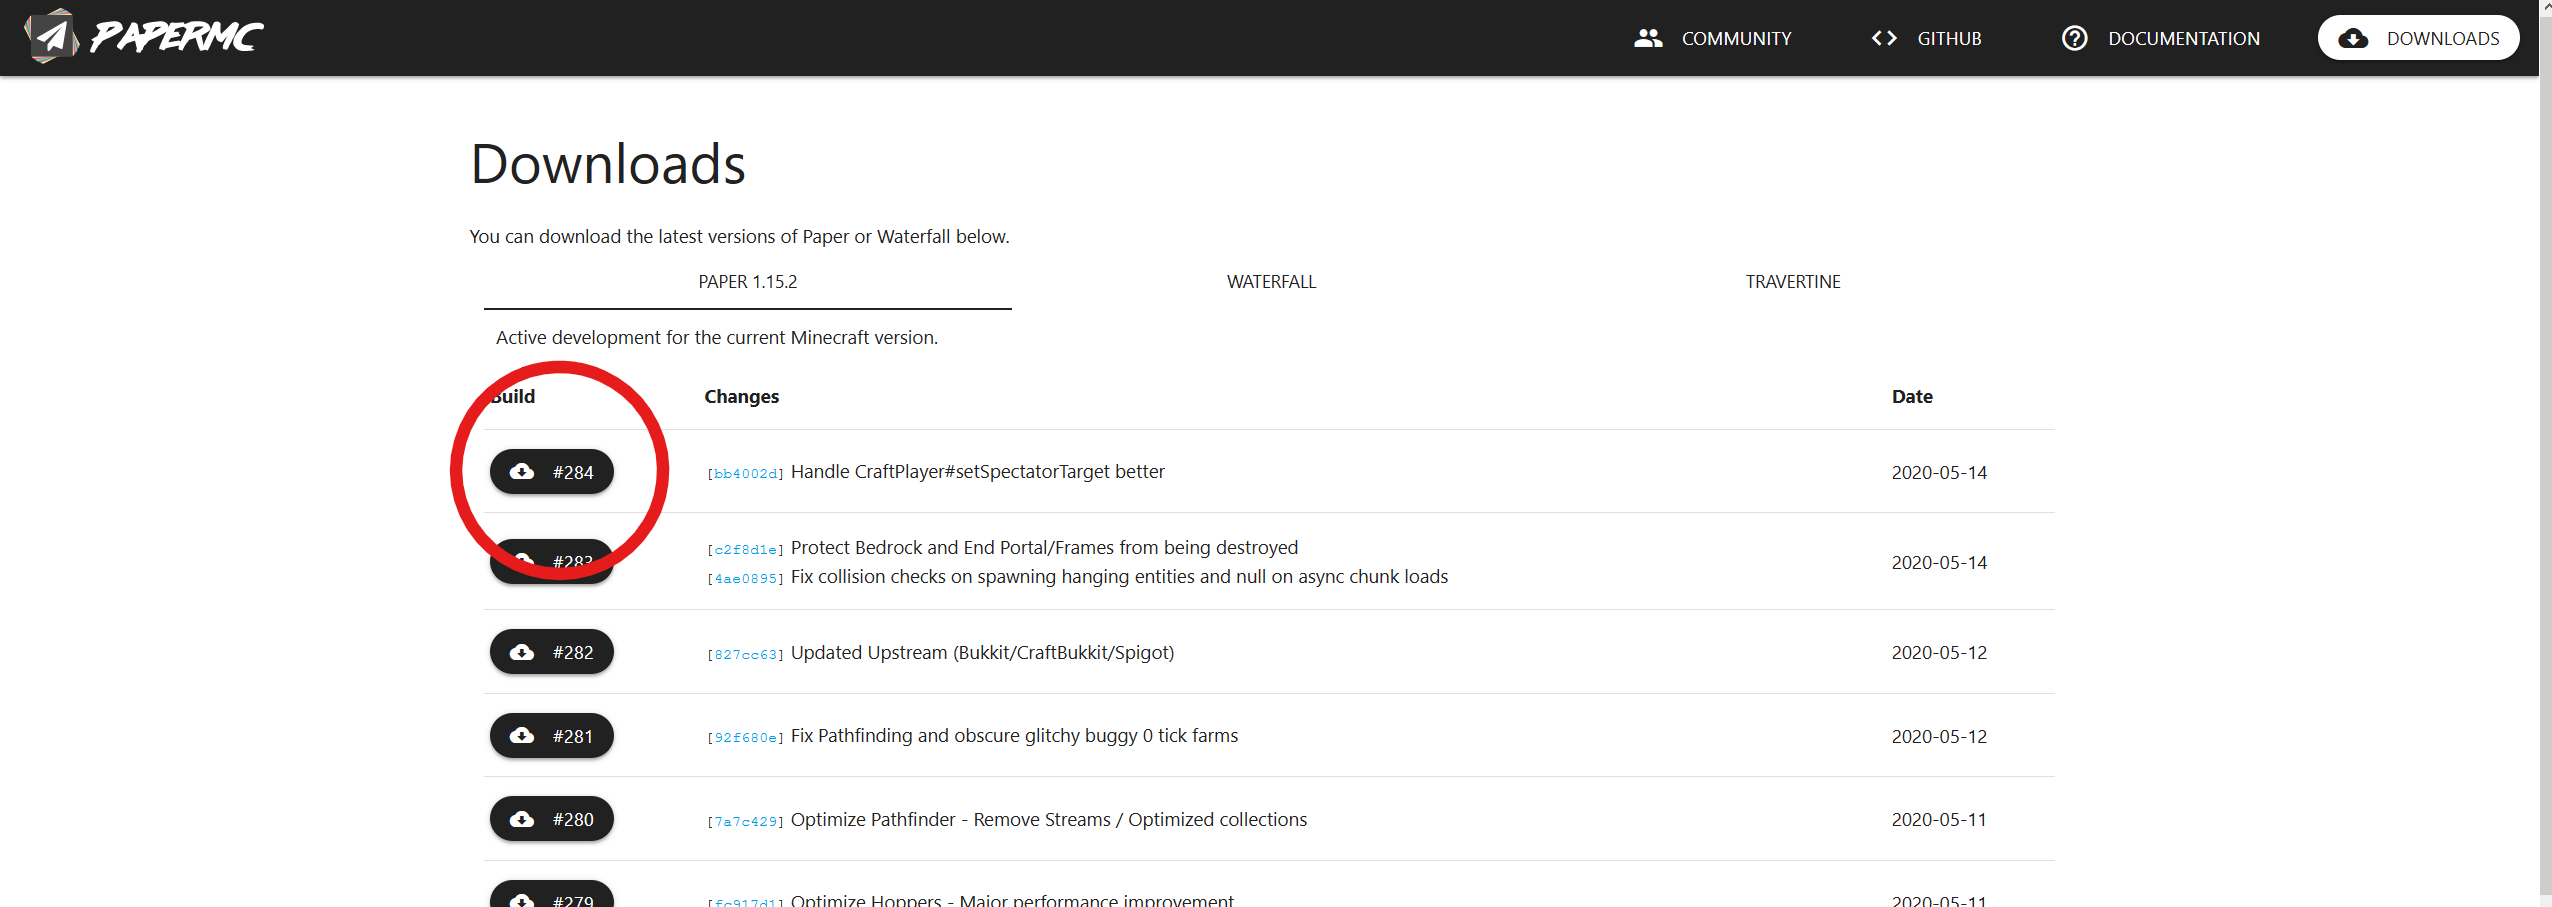
Step 1: You have propably heard of Spigot, the biggest server software for Minecraft. We are going to install Paper (an improved version of Spigot) on your computer. Head over to Papers download page and click on the button you see in the image below (the numbers will not match up, ignore that).
-
Step 2: Create a new folder for the server in a place you can easily access. Making a new folder is important because the server will create a lot of files that would mess up your Desktop etc. Move the downloaded file in the newly created folder. If the file's name is something like "paper-X.YY.Z-100" rename it to
paper. If the name contains a ".jar" ending just change the part in front of the ending topaper. Example: paper-X.YY.Z-100 -> paper paper-X.YY.Z-100.jar -> paper.jar -
Step 3: You need a start script to start your server. Open your text editor and create a file named
start.bat(For Linux and Mac: Create astart.shfile instead). Open it and copy this into it:This script tells java to search for a file namedjava -Xms1G -Xmx1G -jar paper.jar --nogui pausepaper.jar. The1Gsetting in both the-Xmsand-Xmxoptions is how much RAM you want to give to the server (1G= 1 GigaByte RAM,2G= 2 GigaByte RAM,700Mfor 700 MegaBytes, etc.). You should not need more then 1GB in most cases though.
Make sure to save it as a.batfile! If you save it as a.txtfile it will not work. -
Step 4: Launch the server by double-clicking on the start file. A console window will appear and close after a while. Just wait until its gone. Now check the server's folder. You will find a bunch of new folders and files that have been generated. You need to accept the EULA (Minecrafts End-User-License-Agreement)to be able to run a Minecraft server. You will find a link in the eula.txt file. After you read it you need to set
eula=falsetoeula=true.
Next step: Install BetonQuest.