Setting Up Visual Studio Code🔗
What is the most important thing before writing quests? Correct! We need a good text editor to make our lives easier with shortcuts and syntax highlighting. In this tutorial, you will be introduced to Visual Studio Code (VSCode), the most popular text editor.
In this tutorial, you will learn how to install and use it to your advantage!
Alternative Editors
If you are more familiar with another IDE or text editor (such as IntelliJ or Vim), feel free to use it to write Quest. The use of VSCode is only recommended by us based on our experience.
Requirements
Related Docs
- No related documentation
1. Download and Install Visual Studio Code🔗
In this step, we will install VSCode on your computer.
Install it like any other software. The default settings are sufficient for BetonQuest usage.
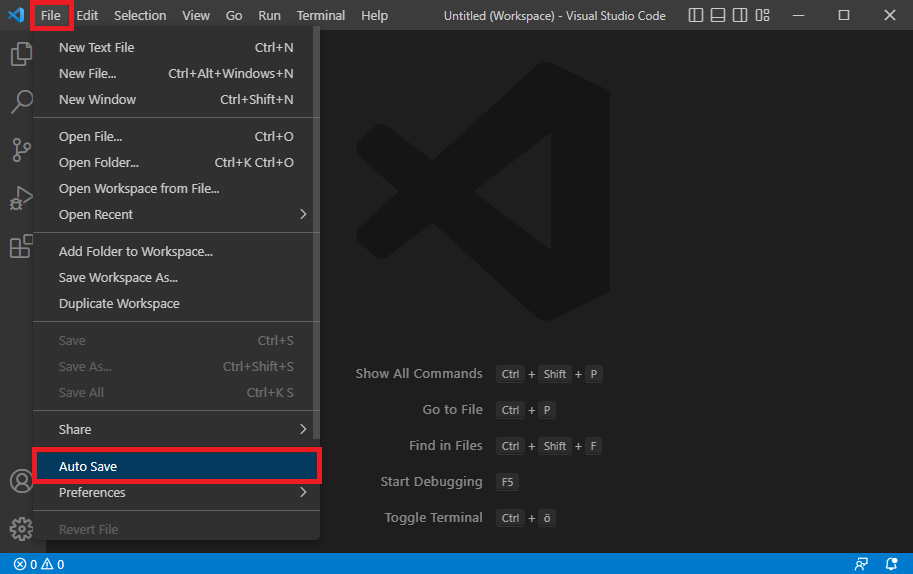
Now start Visual Studio Code. We will activate the Auto-Save feature.
Click "File" in the top left corner and then click on "Auto-Save".
This is a very useful feature that automatically saves your files. No data will ever be lost again!
It also saves you from one of the most common errors when writing quests: Forgetting to save!
From now on, you can just execute /bq reload as soon as your mouse leaves the editor.
VSCode Auto-Save Setup
Now that you have a working VS Code installation, you can learn how to use it.
2. Creating a workspace🔗
If you want to work fast and efficient, it is necessary to create a workspace! A workspace is a folder that contains all your project's files. In this case, it will be the BetonQuest folder with all quests and settings.
More than one workspace
If you want to have more than one plugin in your workspace, you can click on "File" and then "Add Folder to Workspace" to add any other folder. You can also close and reopen the workspace at any time using the steps below.
And this is how to do it:
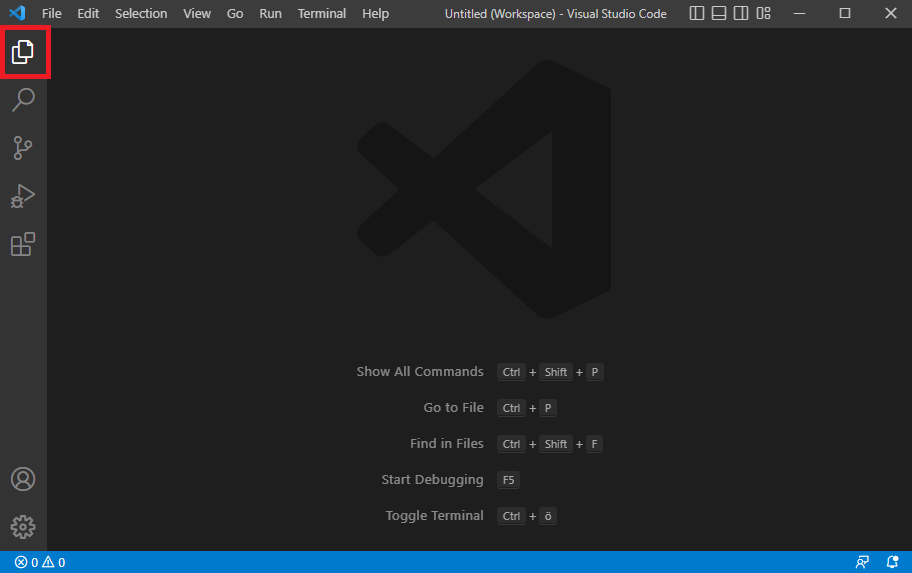
Step 1: Left-click on the folder button.
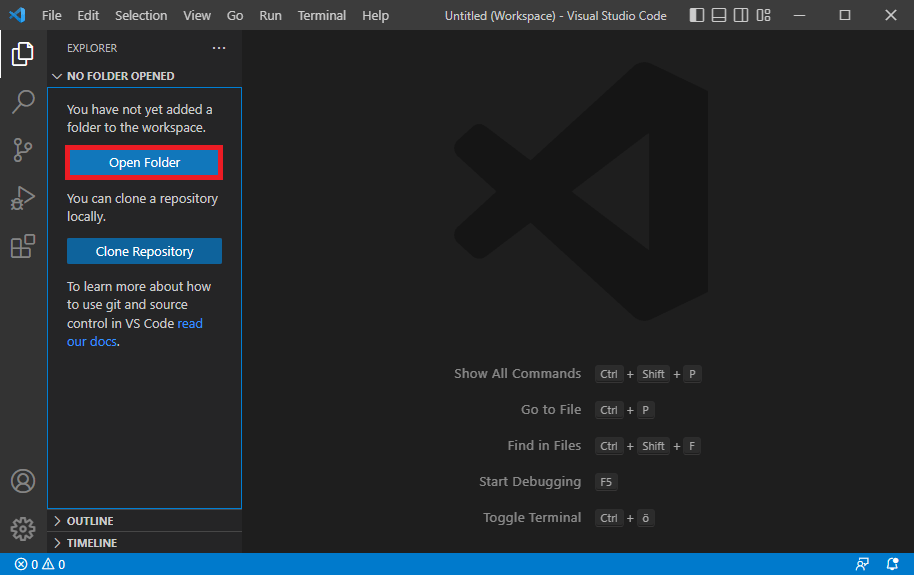
Step 2: Left-click on "Open Folder".
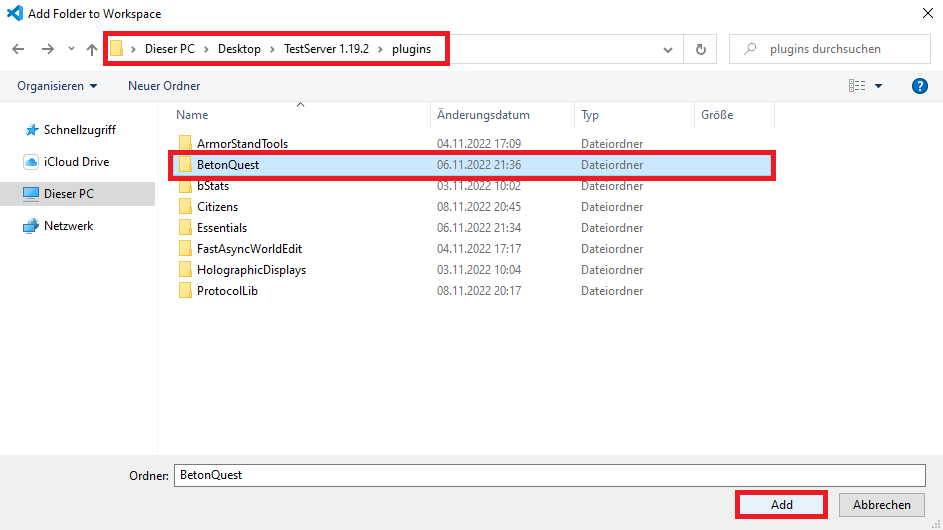
Step 3: Define a path and click on "Add".
Navigate to your server files  Go to the "plugins" folder Select the "BetonQuest" folder
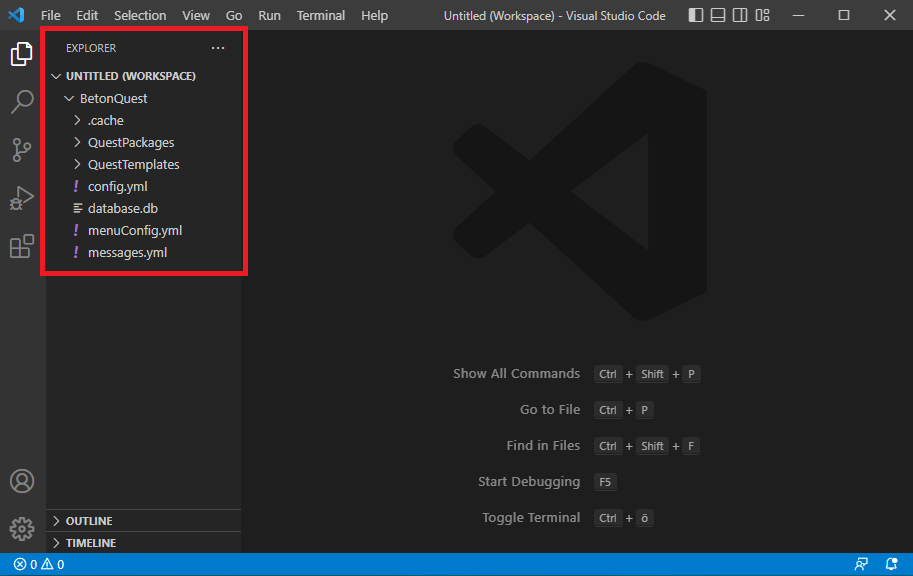
If you have done everything correctly, it will look like this:
In the next topic, you will learn more about how to deal with YAML syntax errors.
3. Installing the YAML Syntax extension🔗
VSCode can highlight mistakes made in the configuration file format (YAML). Because this is NOT a built-in function, we need to install the YAML Plugin from the Extensions store!
To do so, click on the "Extension Button" as it is shown in the picture below:
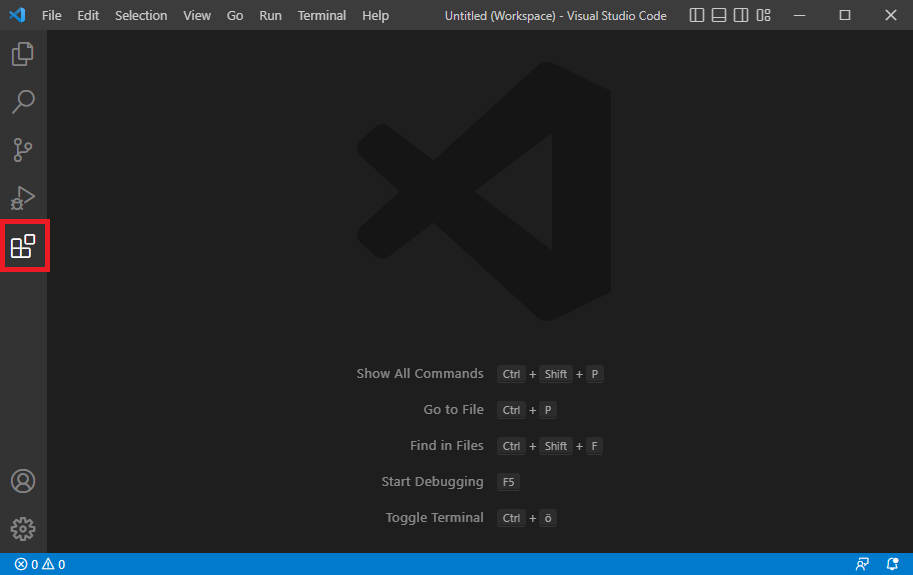
A new tab will open. Now search for YAML and install the plugin from the author "Red Hat"
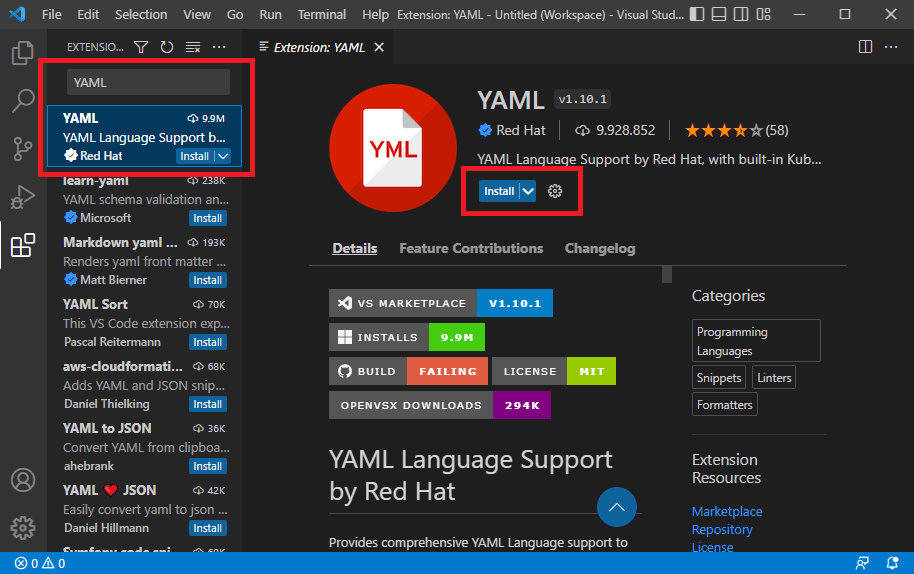
If the installation was successful, you can click on the folder button on the left side again.
No worries, installing this plugin is not dangerous. It is verified!
Summary🔗
Now that we have created a proper setup for writing quests, we will talk a bit about the YAML format that is required for quests!